Your filming setup
You need three things for nail video content:
- A phone stand or mount: Keeps the camera steady and frees your hands. A small flexible "gorillapod" tripod, a standard phone stand, or a clamp-mounted arm all work.
- Good light: Natural window light positioned to the side of the nail area. Or a softbox / ring light for consistent artificial light when working without natural light.
- A clean background: What's visible behind the nails in the frame. A simple neutral surface and no visible clutter is enough.
Best angles for nail videos
| Angle | What it shows | Best for |
|---|---|---|
| Overhead / birds-eye | Application from directly above — clear view of nail surface | Nail art, colour application, timelapse |
| 45-degree front | Nail from slight angle — shows length and surface | Most process videos; versatile |
| Side profile | Nail length, apex, extension shape | Acrylic building, shaping, length reveals |
| Close-up detail | Macro view of a single nail | Chrome powder, glitter, fine art details |
For process videos, start with a 45-degree angle — it's the most forgiving and versatile. Add a close-up cutaway if you have a detail worth highlighting.
What to film during appointments
You don't need to film an entire appointment. Film specific moments and build content from them:
- Prep sequence: Cuticle work, dehydration — satisfying and shows quality
- Product application: Gel, acrylic, builder gel being applied — the main process
- Nail art moments: Freehand art, stamping, chrome application — most engaging
- Shaping/filing: The nail shape emerging from the file — very satisfying to watch
- Before and after: Brief shot of the bare nail, then the finished result
- Reveal: The finished set, clean, oiled, photographed or filmed as the final shot
Audio and sound
Three audio options for nail videos:
- Nail ASMR (native sound): The natural sound of filing, tapping, product application. Very popular on nail TikTok — highly satisfying, no music needed
- Trending audio: Add a trending sound in TikTok or Instagram after filming. Good for discovery but choose sounds that fit naturally
- No audio / silent with text: Works for educational content with text overlays and captions
If filming in a loud salon environment and you want the ASMR feel, you can also add clean nail ASMR audio from TikTok's sound library over your footage in the editor.
Basic editing before posting
You don't need complex editing. Basic steps:
- Cut the start and end: Remove setup footage and anything after the finished reveal
- Speed up slow sections: Application clips often work well at 2–4× speed
- Add text overlay: Name the style, service, or technique (helps with search on TikTok)
- Colour grading: A slight brightness boost and minor contrast adjustment is usually enough — don't over-filter nail video
- Captions: Add auto-captions in TikTok or Instagram for accessibility
For photo editing specifically: how to edit nail photos without making them look fake.
Common filming mistakes
| Mistake | Fix |
|---|---|
| Shaky footage | Use a phone stand — hand-held nail video is too unstable |
| Bad lighting — yellow or dark | Move to window light; never rely solely on overhead salon lights |
| Out of focus nails | Tap to focus on the nails before the key application moment; re-tap if the camera refocuses elsewhere |
| Filming horizontally for TikTok/Reels | Always film vertically (portrait mode) for short-form video; horizontal doesn't fill the screen |
| Too long with no edit | A 4-minute raw application clip needs editing down to 30–60 seconds of highlights |
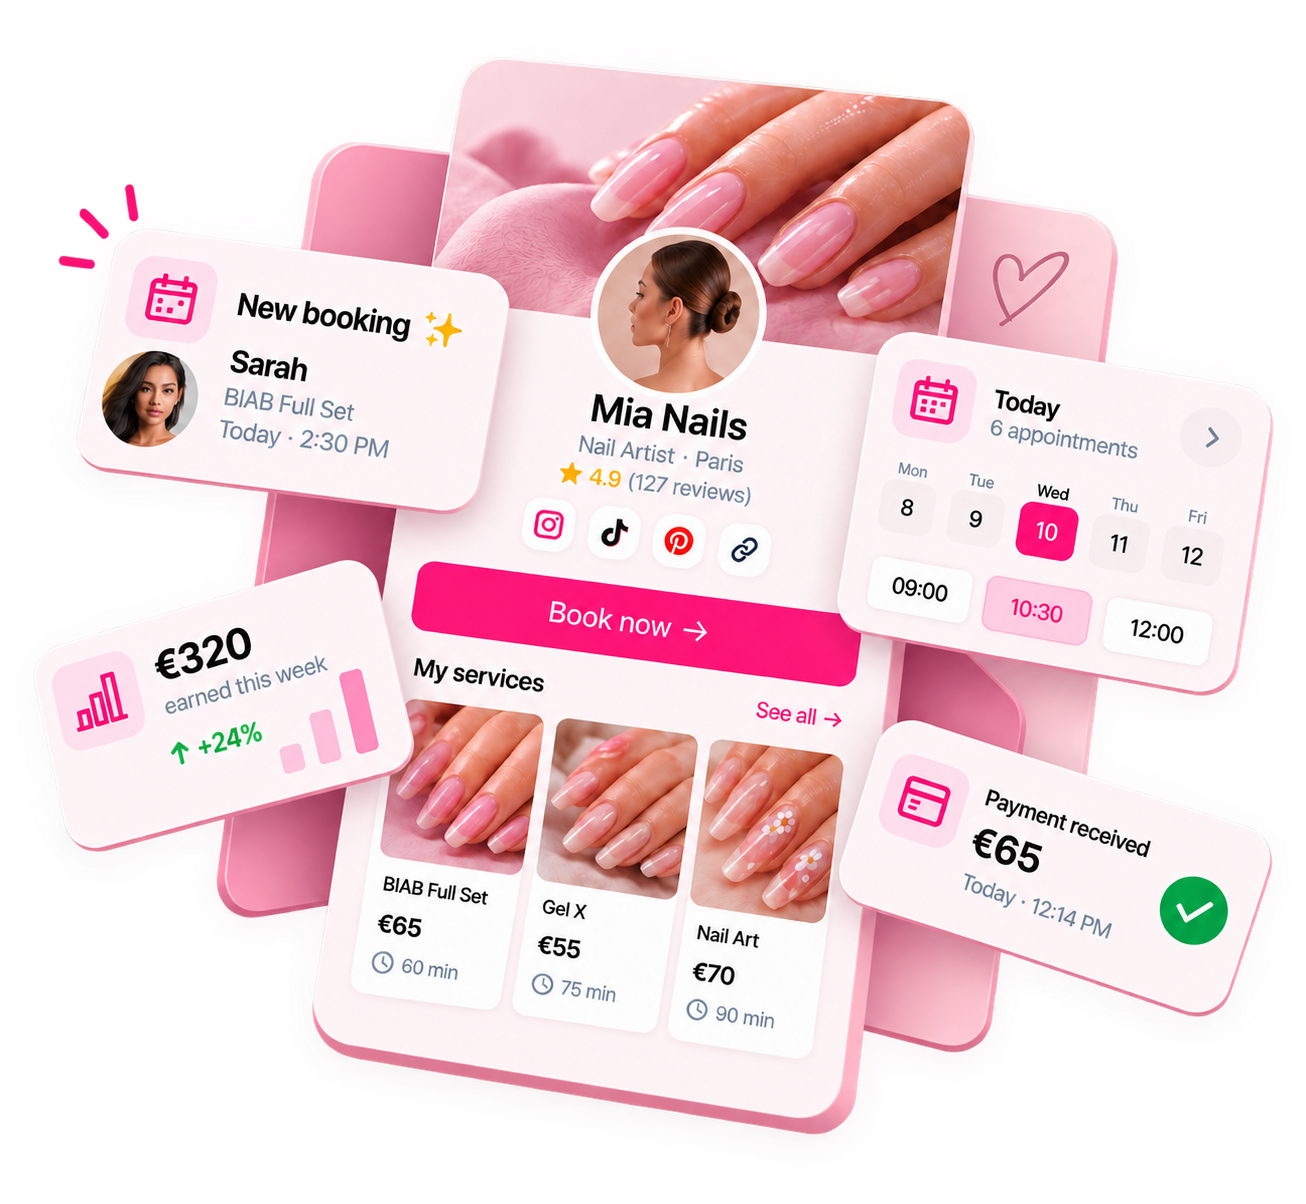
Ready to run your nail business more professionally?
Manage bookings, deposits and payments from one customisable Nelsy booking page.
Start free →Frequently asked questions
Do I need a ring light to film nail videos?
A ring light helps with consistent artificial light, but isn't essential. Natural window light works very well for nail videos — often better than a ring light, which can create distracting reflections on chrome and glitter nails. If you want to invest in something, a small flexible tripod/phone mount is more useful than a ring light to start.
What should I do if my client doesn't want to be filmed?
Respect it completely. Always ask permission before filming any appointment, and a "no" is a no without discussion. Film only the nails (not the client's face, body, or anything identifying) unless you have explicit consent. Most clients who are fine with their nails being filmed prefer not to appear in the video themselves — that's an easy accommodation.
How do I film nails without interrupting the appointment?
The key is a phone stand — once it's set up at the right angle, it films without you needing to manage it. Prop your phone on a stand or against your tools at the right angle, start filming, and work normally. Review the footage after the client leaves and cut what you need. You don't need to direct the filming while working.